10 Tips for Designing Your Heritage Fairs Project:
How your project looks is a very important part of your presentation! You have done a lot of research and you have a story to tell. Your project needs to help you tell that story. Click here to download a printer-friendly version.
- Make sure that the design is yours! Do what you want and do as much as possible by yourself. Sometimes, your parents might want to help a lot - Heritage Fairs is fun! But please remind them that this needs to be your project. (Your parents, brothers & sisters, and friends can give you suggestions and can help with building models.)
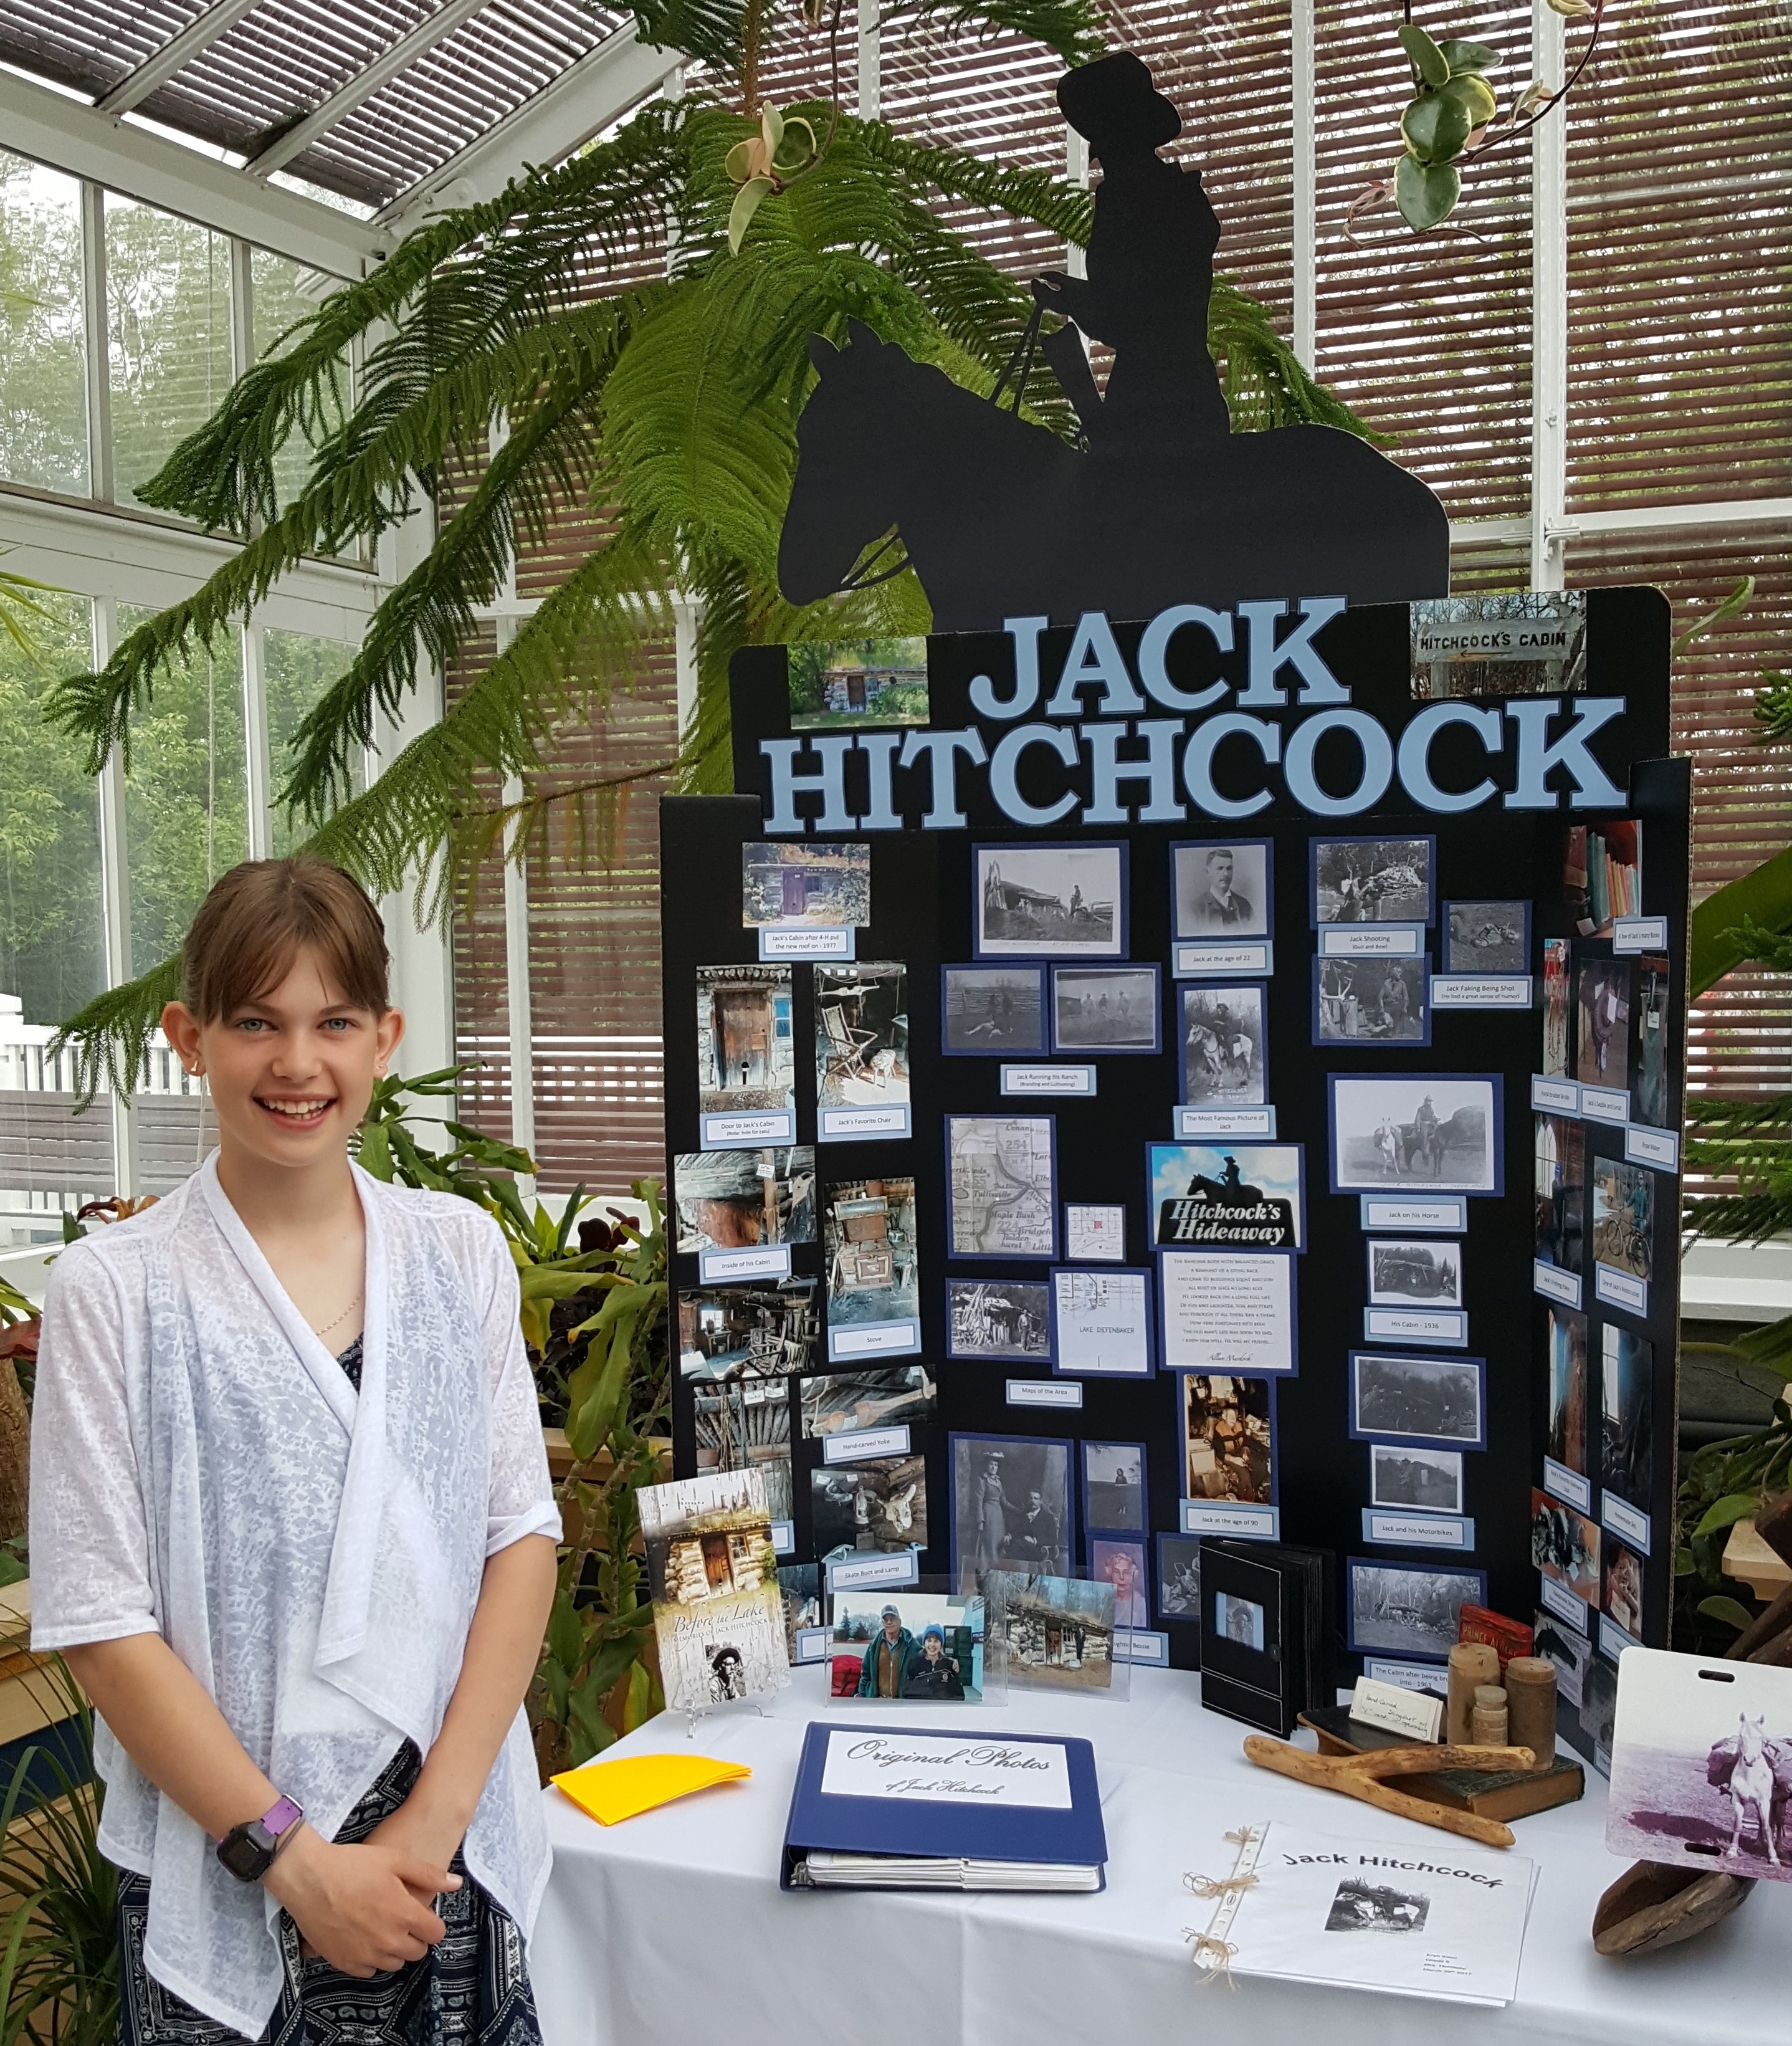
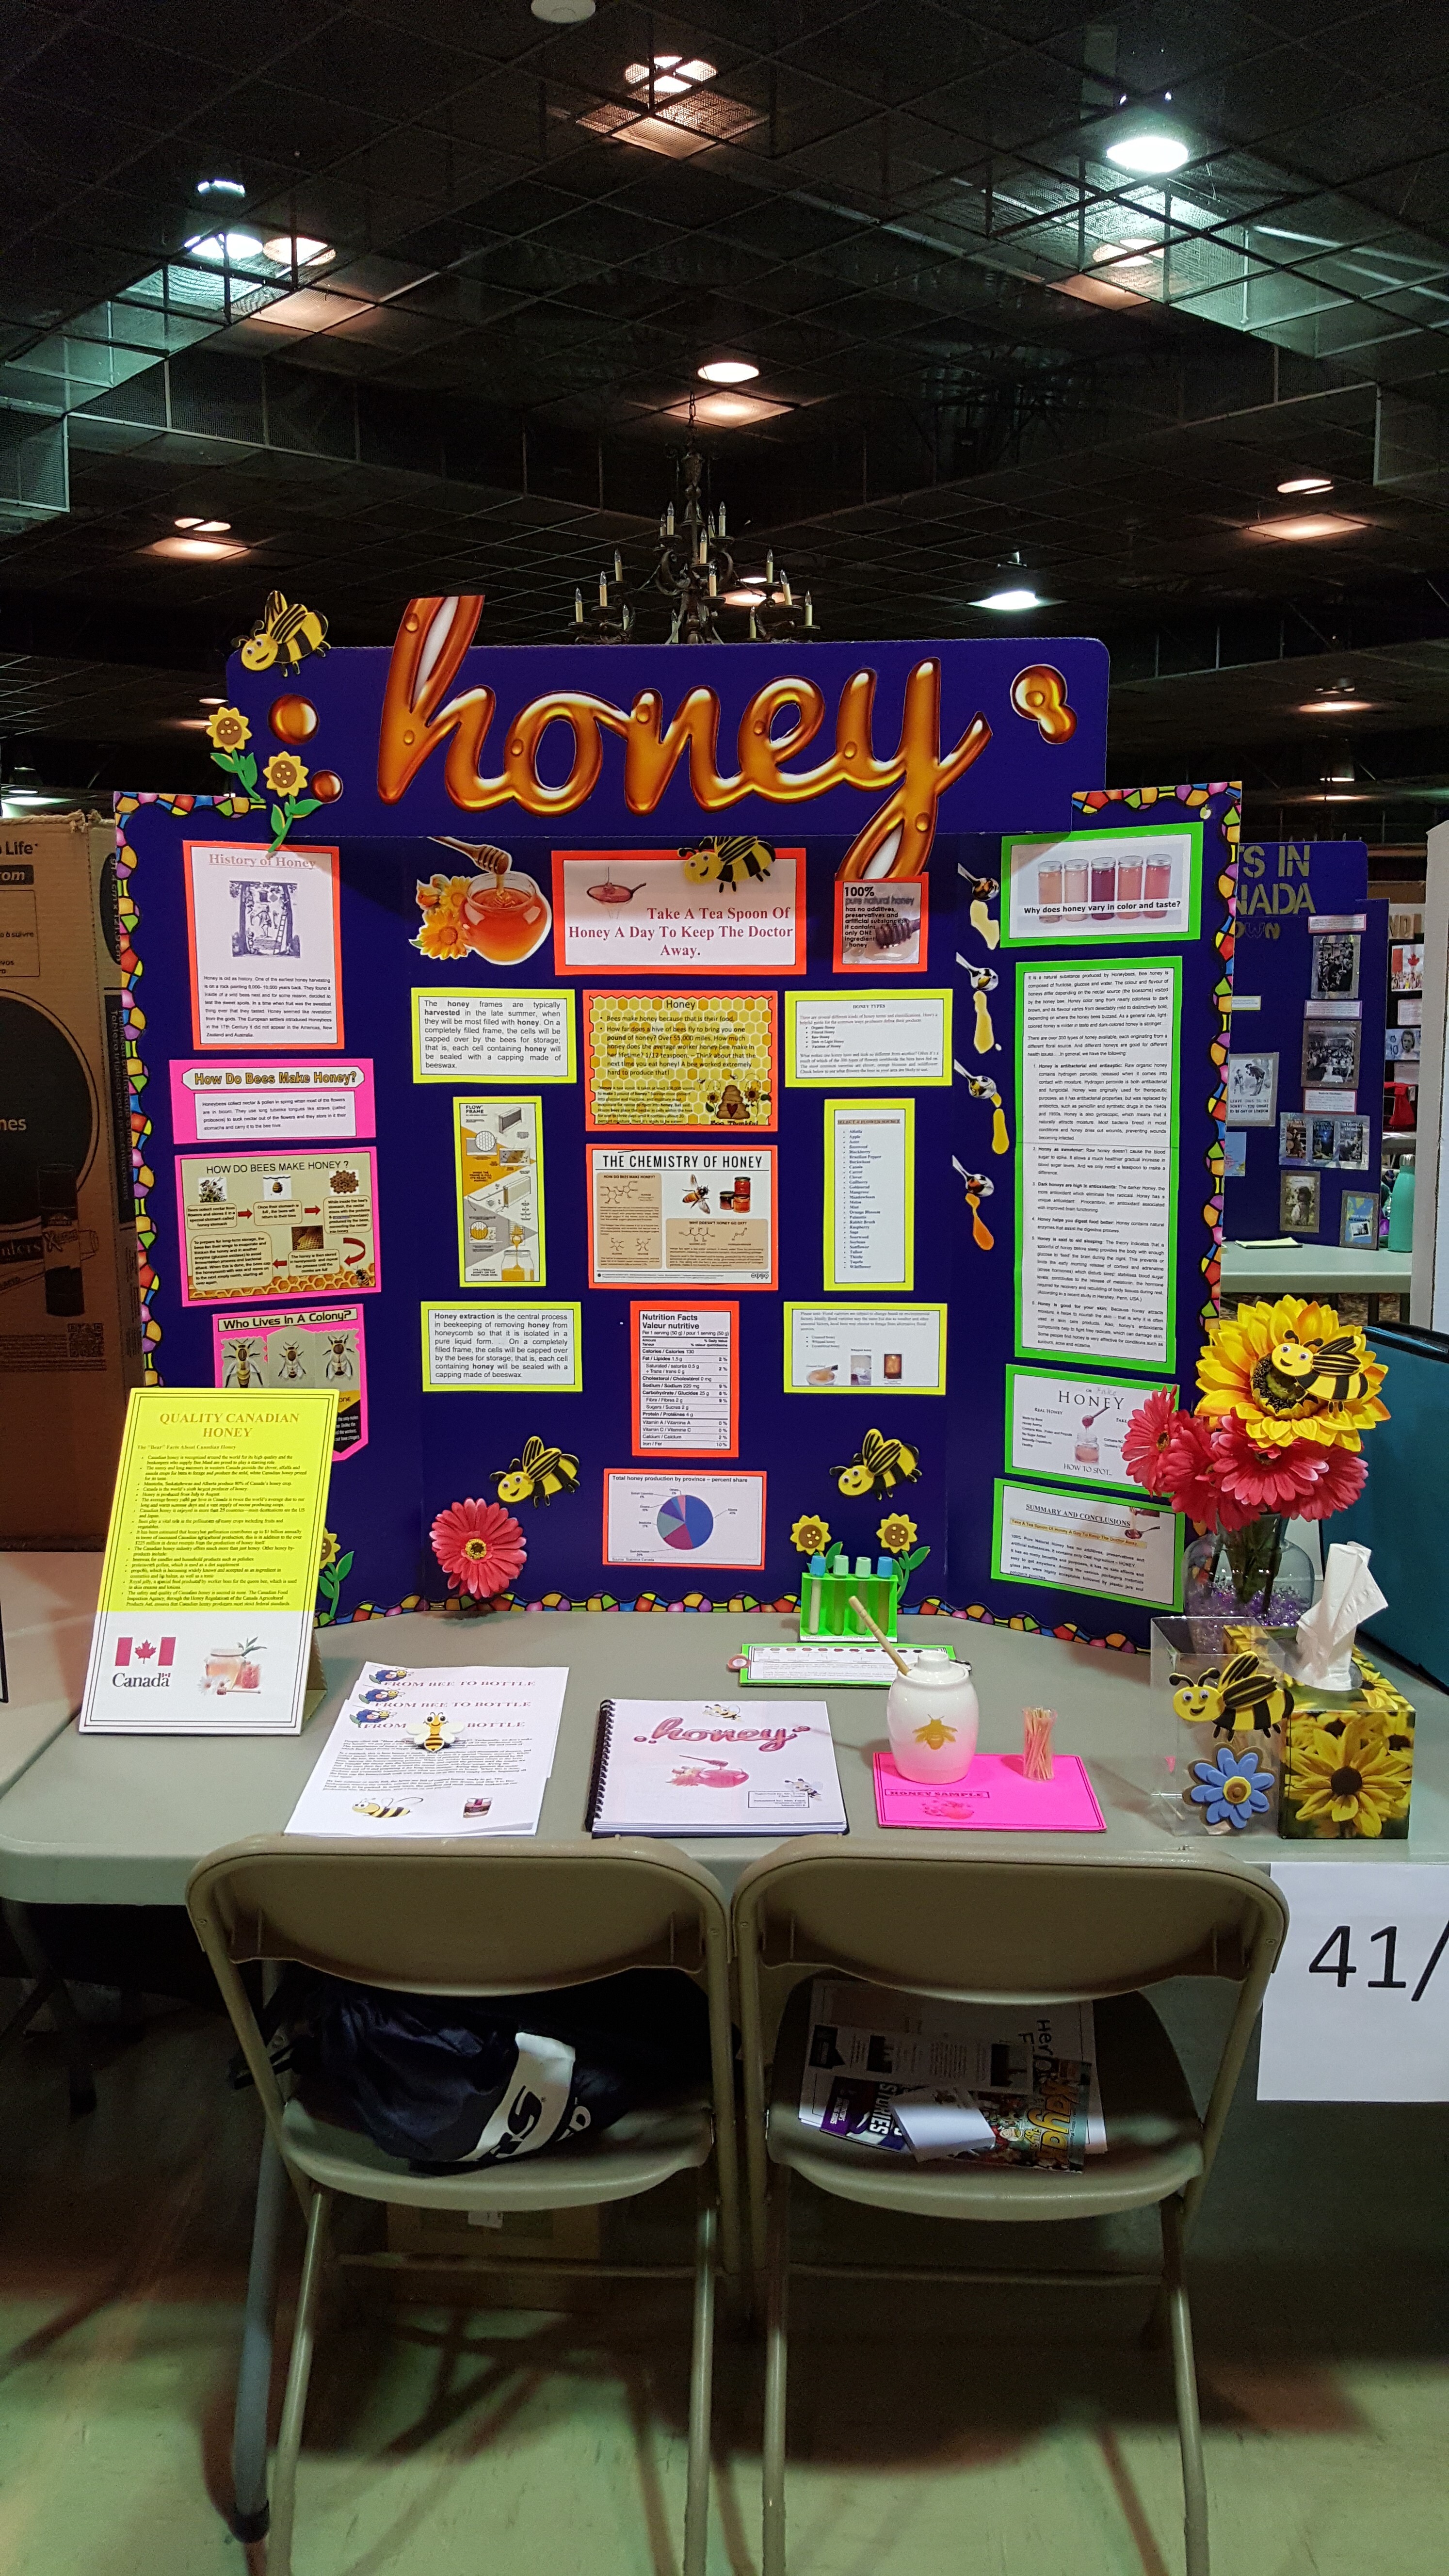
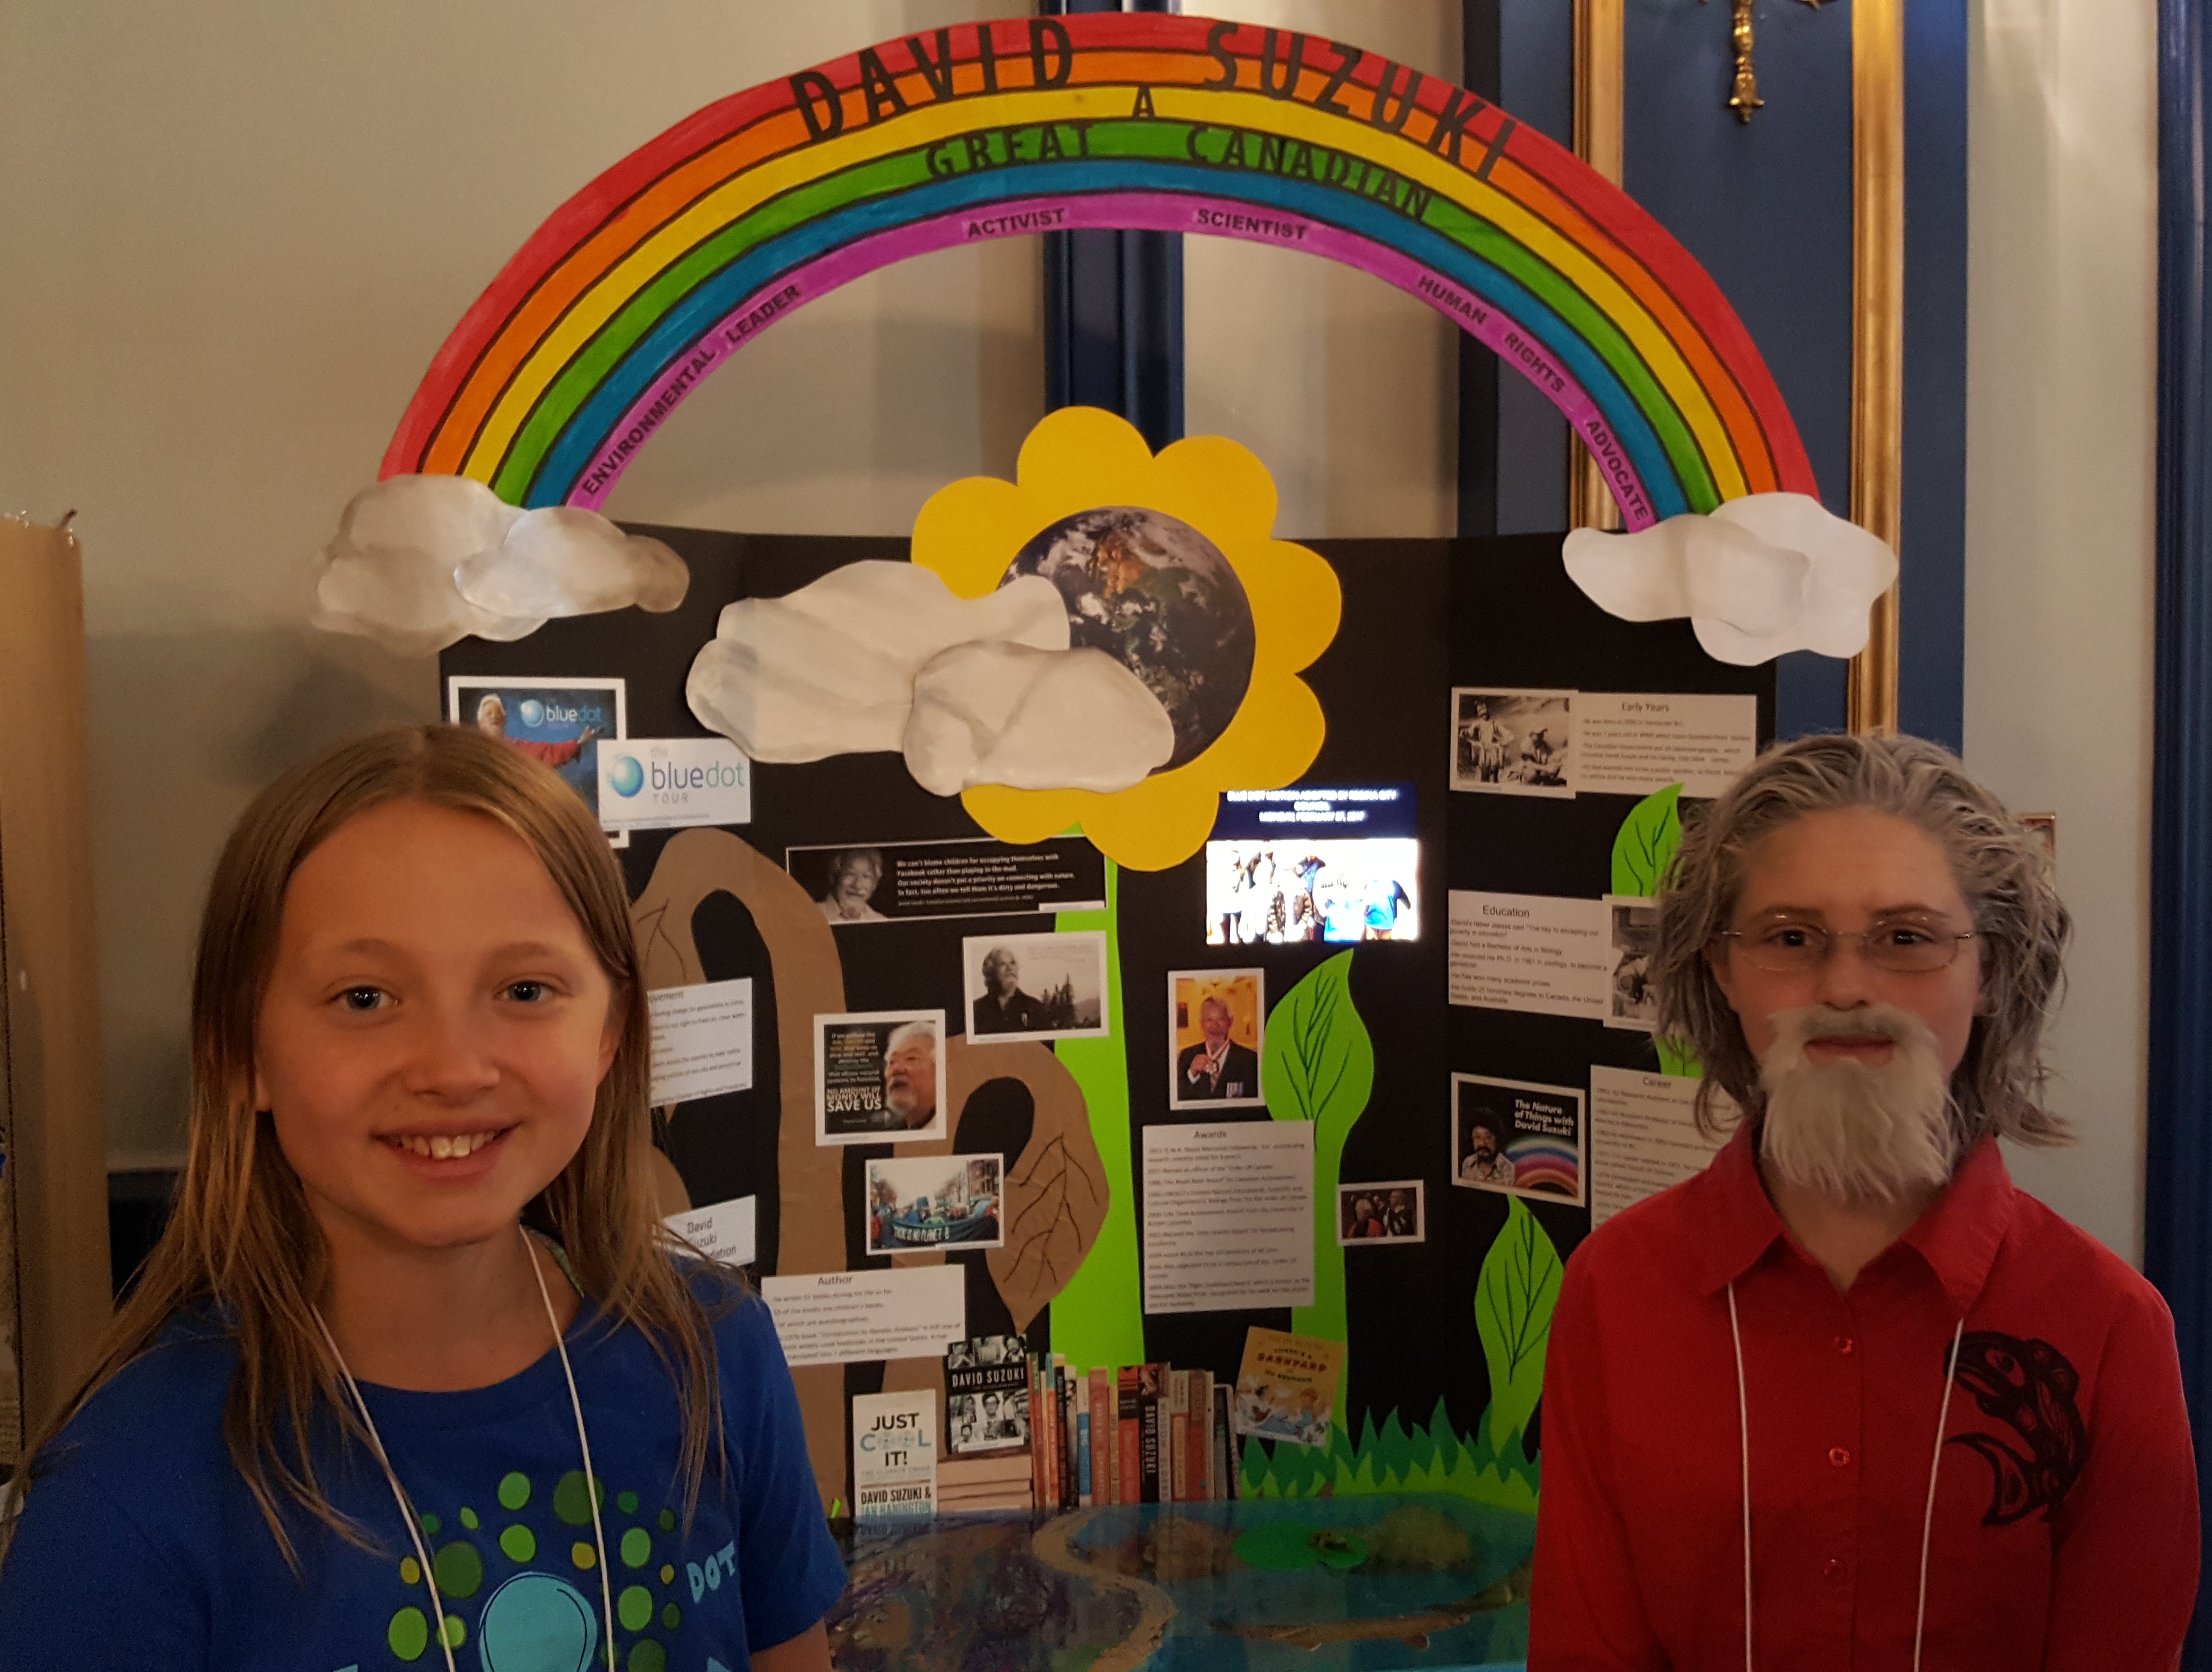
- Use more than just words on a backboard! Include photos, pictures, maps, etc. Build a model and/or include artefacts, and make use of the whole space that you have. (4'x3' or 120cm x 90cm)
- Make your project colourful! Even if you are using black & white photos, still include colour such as bright lettering, maps, and other decorations. If you are going to stick with black and white because it suits your topic, make it stand out in other ways, like contrasting letters and using patterns.
- Put information on your backboard! Make sure there are some words on your backboard so that when you are not at your project, visitors can still learn about your topic. This information can also help you in your presentation if you are stuck.
- Use big letters! Make sure that most judges and visitors do not have to lean over into your project to read it. (Remember that people have varying levels of vision.)
- Keep it simple! Simple designs work well if they convey the topic and help you give your presentation. Remember that no matter how amazing your display is, your presentation is the most important part of the project.
- Remember your Works Cited and Photo Credits section! It does not have to go on your backboard and can go on the table. Use your backboard for information about your project. (Photo credits can also be in small letters underneath the photographs.)
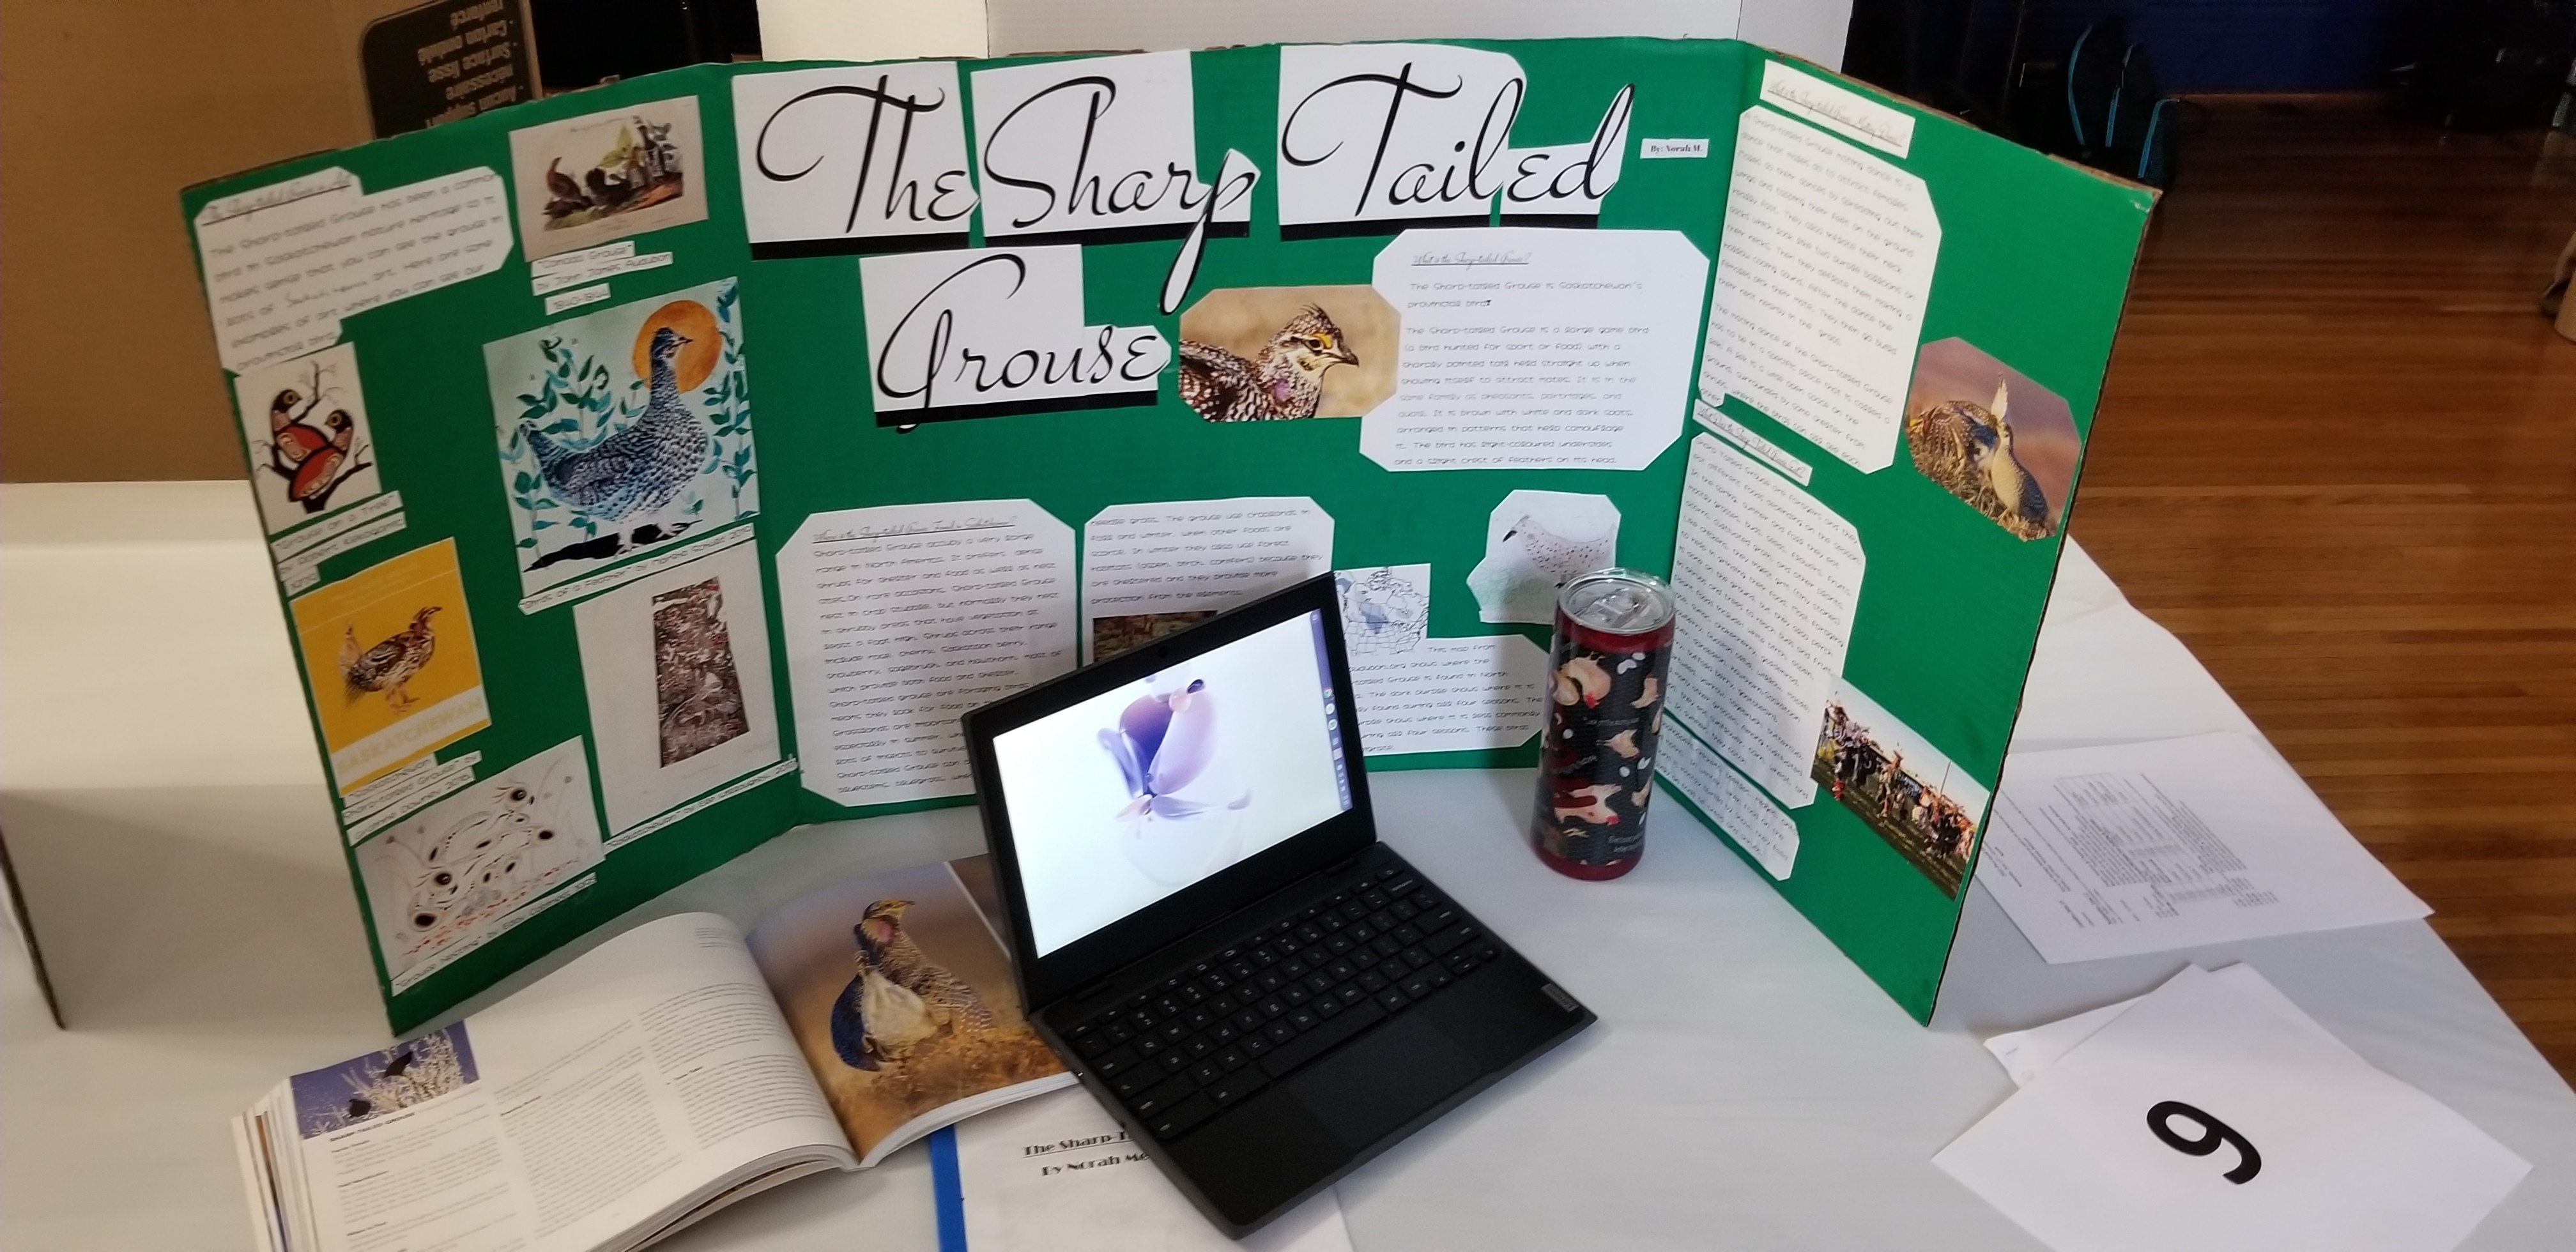
- Use your digital elements if you have them! Make sure to use videos, slideshows, games, music, etc., in your presentation so that the judges know what wonderful work you did! Also, have a back-up plan in case your computer or tablet has problems. Make sure to remember to bring any chargers and cords that you might need.
- Design your project in separate pieces! That way, it will be easier to transport to and from school.
- Have a back-up plan if part of your project breaks or goes missing! Make sure you can still do your presentation. Do not worry if your project does not end up looking like you imagined it.
There is only ONE absolute rule: Your project can be only 4 feet wide! This includes all parts of your display. You can make a tall display (as high as the ceiling if supported) and your display can go all the way to the floor. You can use the space in front of your project as long as you and one other person can stand there comfortably.
Model-making is fun and we have had many amazing projects, some of which have been wider/longer than 4 feet in the past. But there is not enough room at the Regional and Provincial Fairs for all students to have extra space. Please keep your display to less than 4 feet wide so that we do not have to ask to you leave any part of it at home!
There are special rules around food in Heritage Fairs displays. Click here to download our 7 Tips About Food in Heritage Fairs Projects.
7 Tips About Food in Heritage Fairs Projects:
First of all, not every Regional Fair allows food. Many Regional Fairs take place in museum display areas where food is not allowed. Consider “If I were not allowed to have food in my display, what would I have in my display instead?”
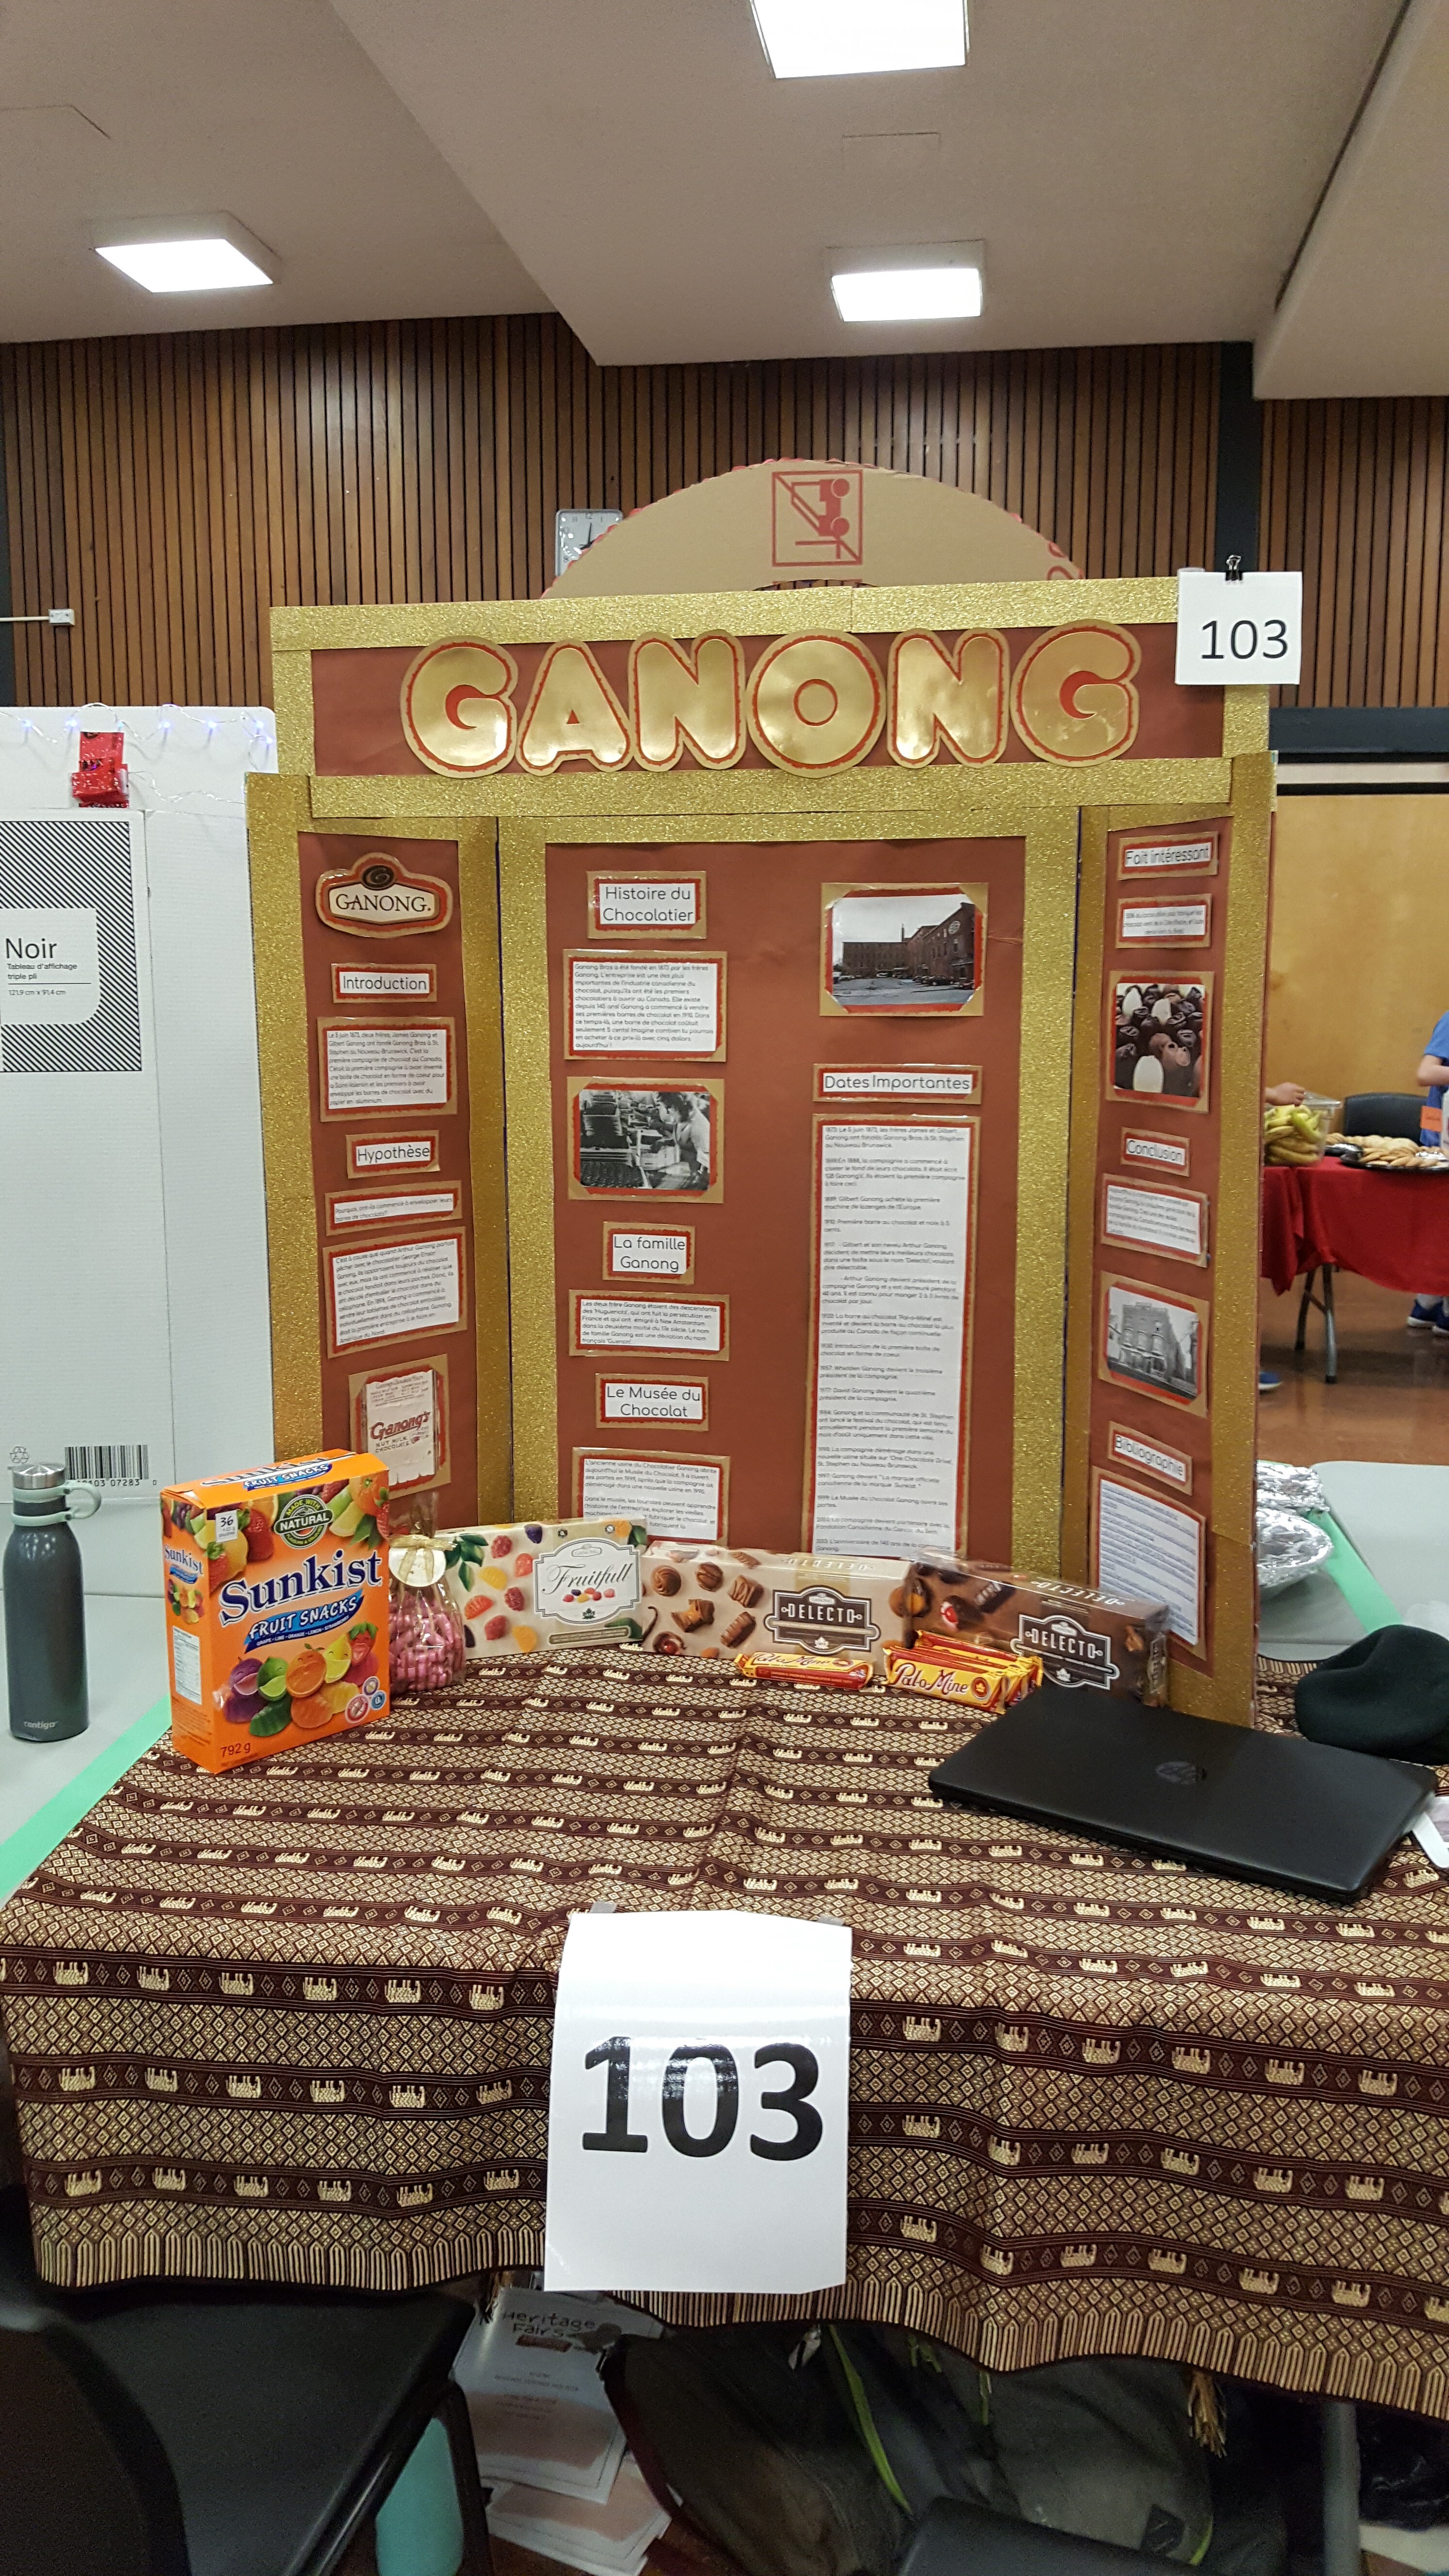
Please consider only including food in your display if it is what your project is about (such as the evolution of poutine) or closely tied to what your project is about (such as a restaurant, chocolate factory, or food company). Not every display needs to have candy or food included!
- If your project is not about food or something food-related, you do not need to include food or candy in your display! There is nothing in the rubric about food and it will not drastically improve your score. Judges need to be able to pay attention and ask questions, which is difficult to do while eating. Consider including items such as artefacts, photos, or a model into your display rather than a bowl of candy or a tray of cookies.
- If your project is about food or something food-related, you still do not need to have samples! Plenty of excellent projects about food-related topics have not included actual food in the display. Consider including photos of the food or model versions instead. Unopened, non-perishable packages (i.e. a bag of chips, a box of chocolate, a can of soup, a can of ginger ale) can be included in displays as well. Any food items, opened or unopened, need to be put away when the student is not at their display.
- Consider providing judges and visitors with something to take home to remember your project instead! Food is tasty, but only lasts a few seconds. Instead, consider giving the judges and visitors something to take home. It serves as a thank-you gift as well as something to remind them about your project. Some examples: information sheets, postcards, trading cards (such as hockey or baseball), pins, posters, etc.
If you still want to include food in your display:
- Make it simple! Rather than homemade food, consider items like chips or candies that are pre-packaged individually. Commercially packaged, individually wrapped candies can be left out in displays and do not need to be served. However, the package with the list of ingredients still needs to be displayed.
- You need to have a list of ingredients! For purchased items like candy, the package has the list of ingredients already available. Make sure it is in your display! For homemade items, make sure to list all ingredients used.
- Do not leave food out! Hot food needs to be kept hot and cold food needs to be kept cold. Any food remaining after the judging needs to be eaten immediately or put away and not put back in the display for the public viewing. No food storage is available on any Regional Fair premises. Do not bring any food that requires cooking appliances be included in your display (including popcorn-makers).
You must follow regulations! Students need to have disposable gloves and tongs to serve actual food at their displays. (Students are responsible for bringing these.) Food must be covered when not being served and students must wear hairnets.
10 Tips for Transporting Your Heritage Fairs Project:
Once you have designed and created your project, you have to be able to get it to school. Plus, if you get selected to attend the Regional Heritage Fair (and then if you get selected for the Provincial Heritage Fair thereafter), you will need to move your project once again.
Click here to download a printer-friendly version.
Here are some tips for easily transporting your project:
- Carry your model in a separate container! Some things that work well: a plastic bin with a lid (make sure the lid can be closed tightly without squishing anything) or an old casserole dish. (A casserole dish that comes ready-made with handles works well as the base of a model.)
- Carry items for your display in a plastic bin with a lid, separately from any models! Once your project has been set up, this bin can come in handy to store away things like your coat, etc.
- Make sure you can lift and carry each piece of your project! You might have to carry your project yourself, especially if you are selected for the Regional and/or Provincial Heritage Fairs. But, you do not have to be able to carry all bins, boxes, or models, as well as your backboard, at the same time!
- Beware of snow/rain! Make sure that anything that is not waterproof, including your backboard, is covered in plastic or in a plastic bin. Even if you are only going to be outside for a little bit, your project might get wet if it is raining or snowing, or if you get splashed.
- Bring a charger and cord for your electronics! Make sure to label or mark these with your name or initials. It is also a good idea to bring a small extension cord if you have one – make sure you label it as well.
- Bring tape! That way, you can repair your project if anything falls off your backboard or model while being carried. You can also use the tape to stick items to the table.
- If you need water for your project, add it after the project is set up! If your model includes water, add it after you arrive and have the rest of the project set up. If you want to bring water with you, carry it in a separate, sealed container (such as a water bottle). Do not carry water – or any other liquid or gooey items – with the rest of your items in case it leaks on the way to school!
- Make sure to arrive early enough to set up your project! As with water, balloons and other inflatable items should be inflated at the Fair so that they are easier to carry and will not blow away or break. Also, you will need time to set up your display and model, as well as time to get dressed in your costume, cultural regalia, uniform, or presentation clothes.
- Do not be afraid to ask for help! The more you can carry and set up on your own, the better, but do not be afraid to ask for help if you are struggling, or if something goes wrong.
- Make use of your empty containers while your project is set up! At the Regional & Provincial Heritage Fairs, there will be activities as well as presenting your project to judges, so you may want to take off pieces of your outfit (i.e. hat, scarf, fake moustache, jewellery) for these activities. A great place to store these items is in the container(s) that you carried your model or display items in. Then they are easy to find again if/when you need to put them back on!